In This lab we will spin-up GitLab Ultimate AMI in AWS.
✅ Step-by-step Instructions
- Open GitLab Ultimate in AWS Marketplace.
- Click on Continue to Subscribe

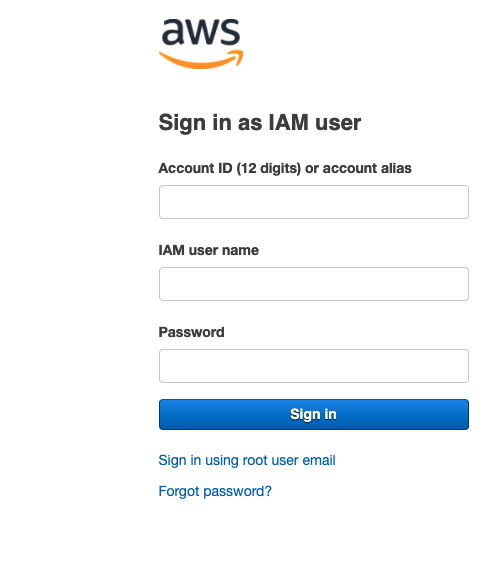
- Sign in with your IAM user. (If you are asked to.)
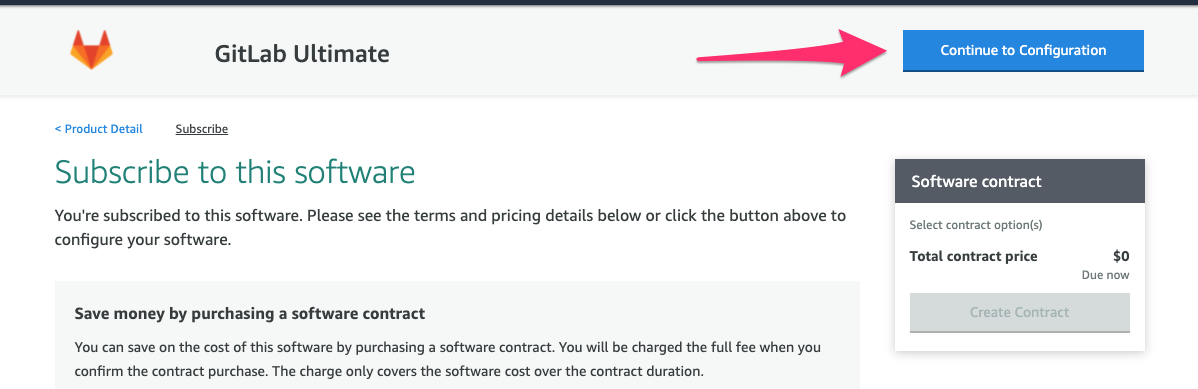
- Click on Continue to Configuration.
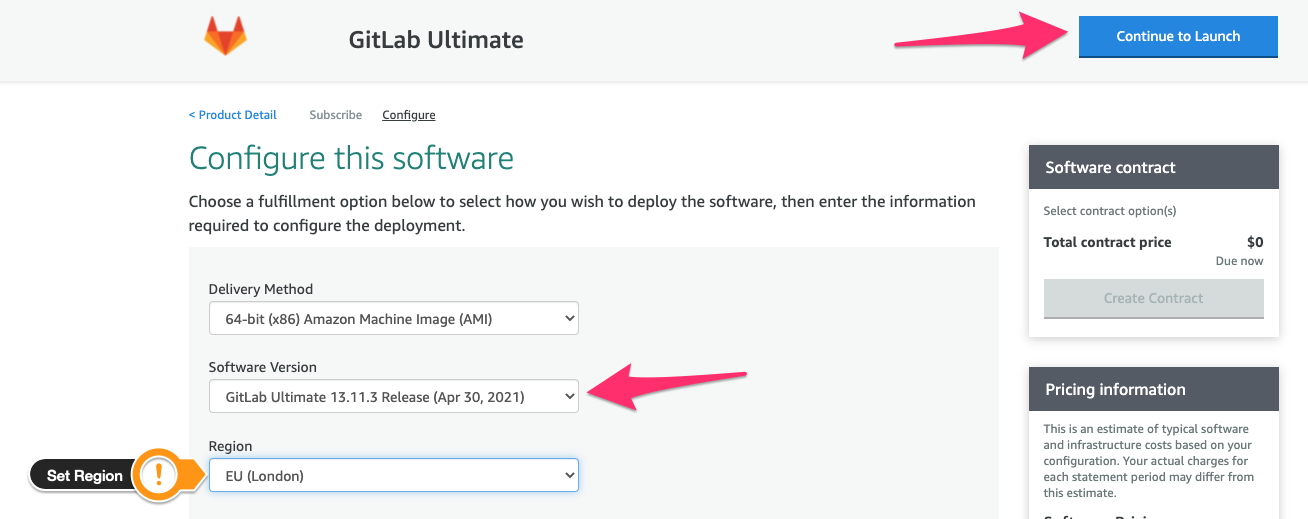
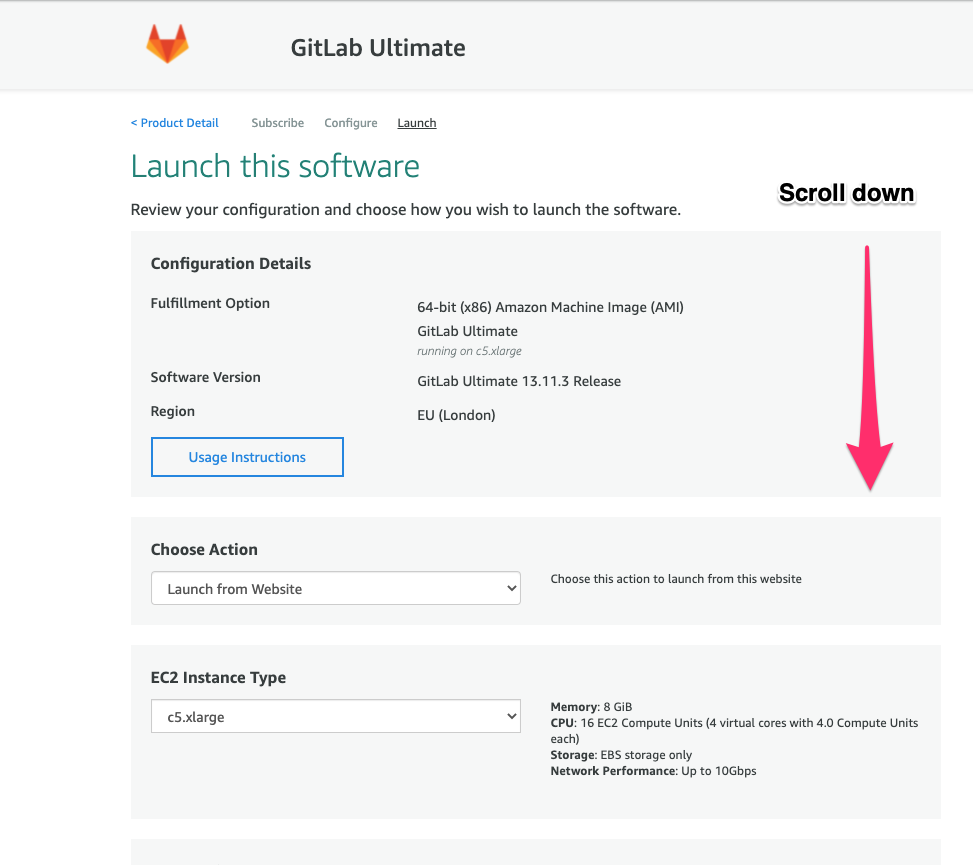
- Leave the default value for Delivery Method, Select the latest version in Software Version, Select your Region, click Continue to Launch.
- In Lunch this software page, scroll down.
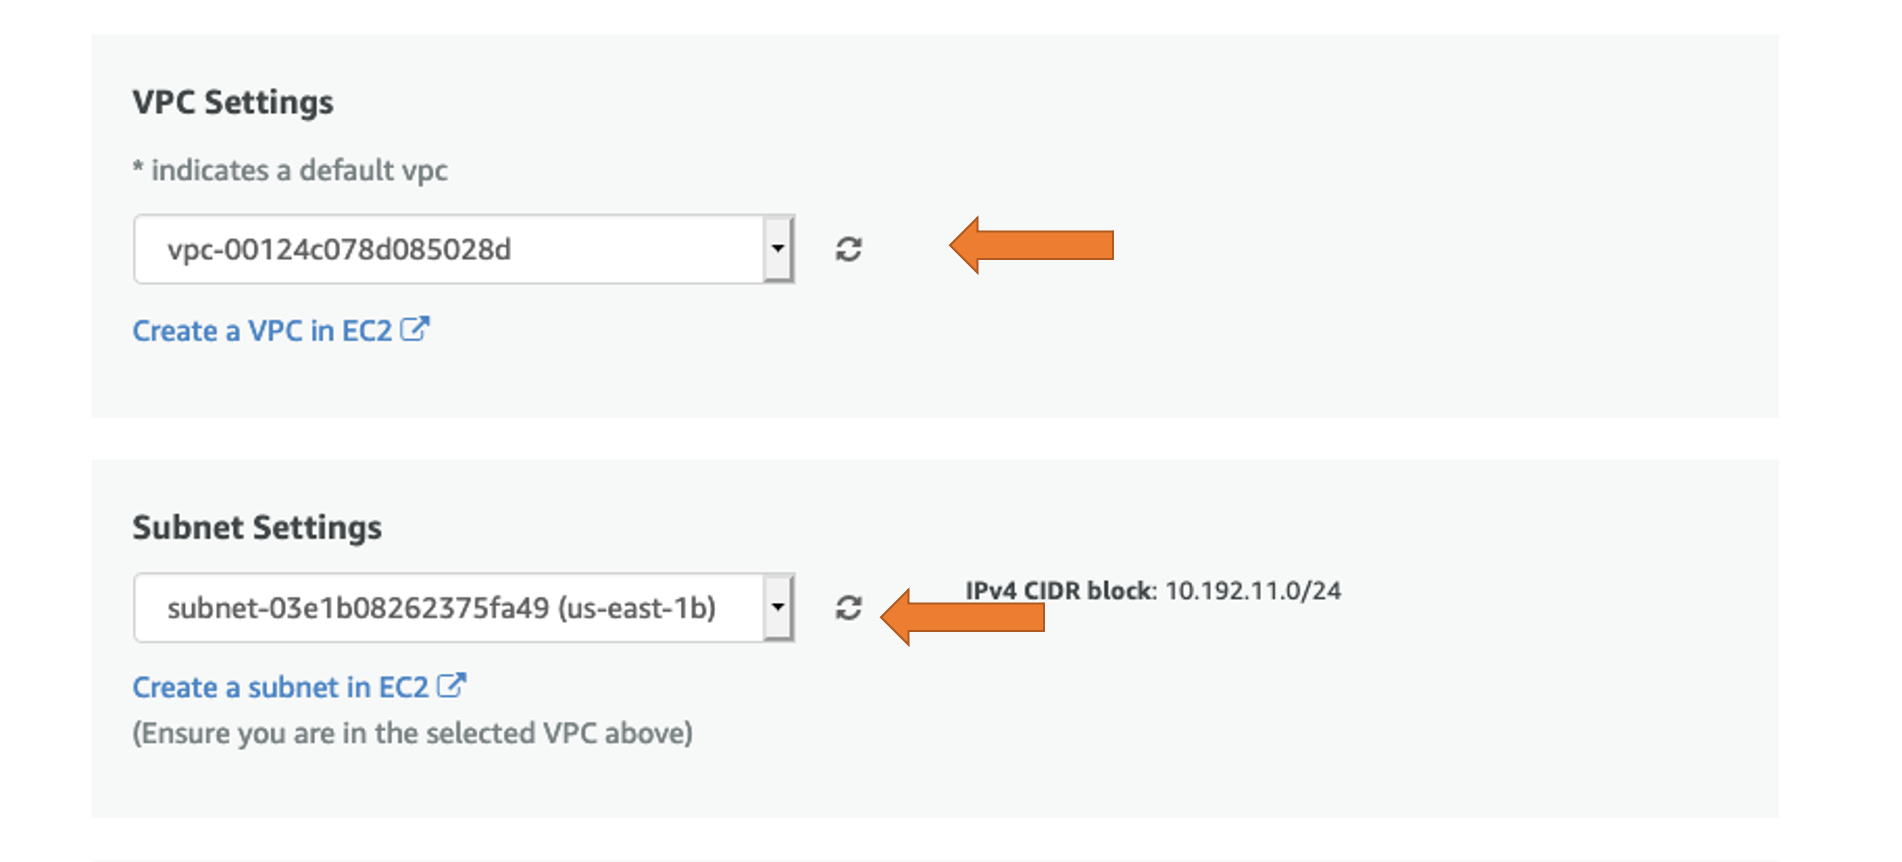
- Under VPC Settings Select the VPC that you want to deploy the gtilab instance on.
- Under Subnet Settings Select the ID of a Public Subnet that you want to deploy the gtilab instance on.
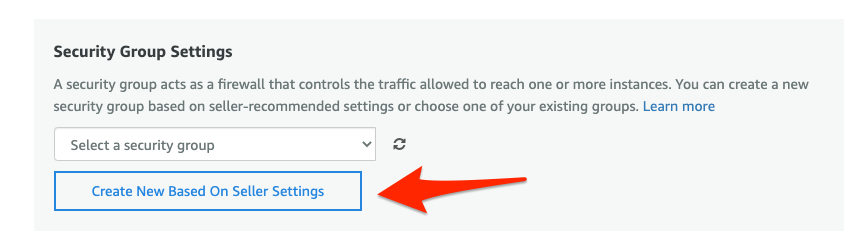
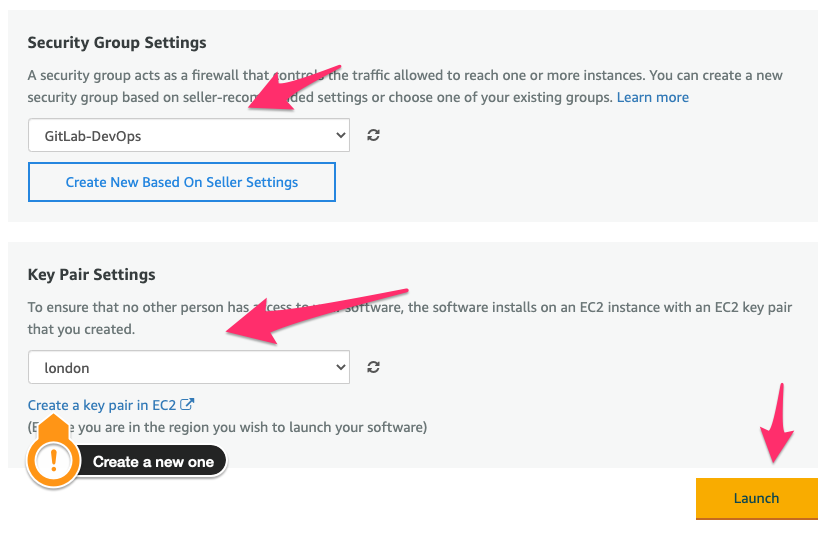
- Under Security Group Settings click Create New Based On Seller Settings .
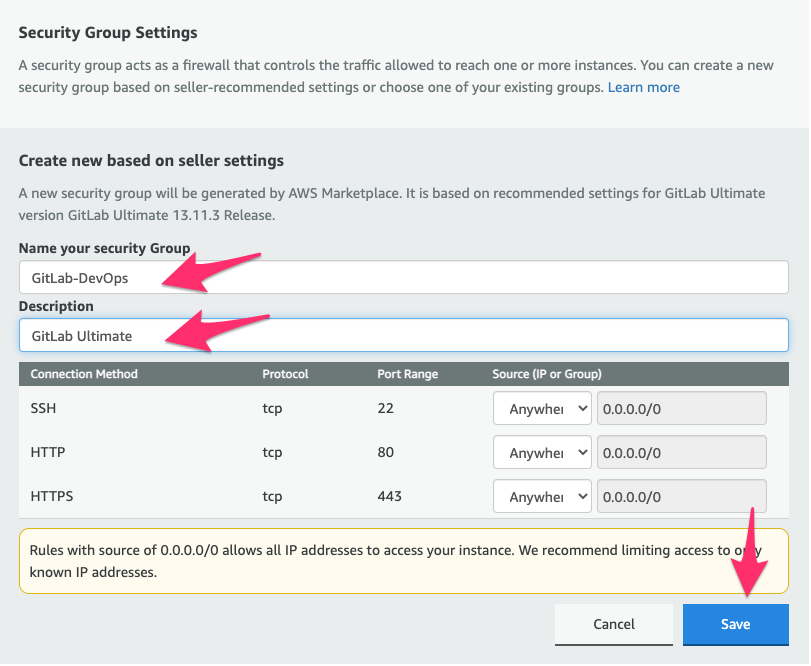
- Name your security group, add a description, and Save it.
- Select Key Pair. If you don’t have key pair, create one. Leave other fields in this page with default values. Click Launch.
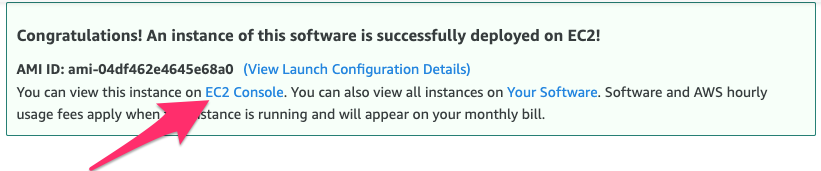
- You will get Congratulations message confirming you launched the machine successfully. In this message click on EC2 Console link.
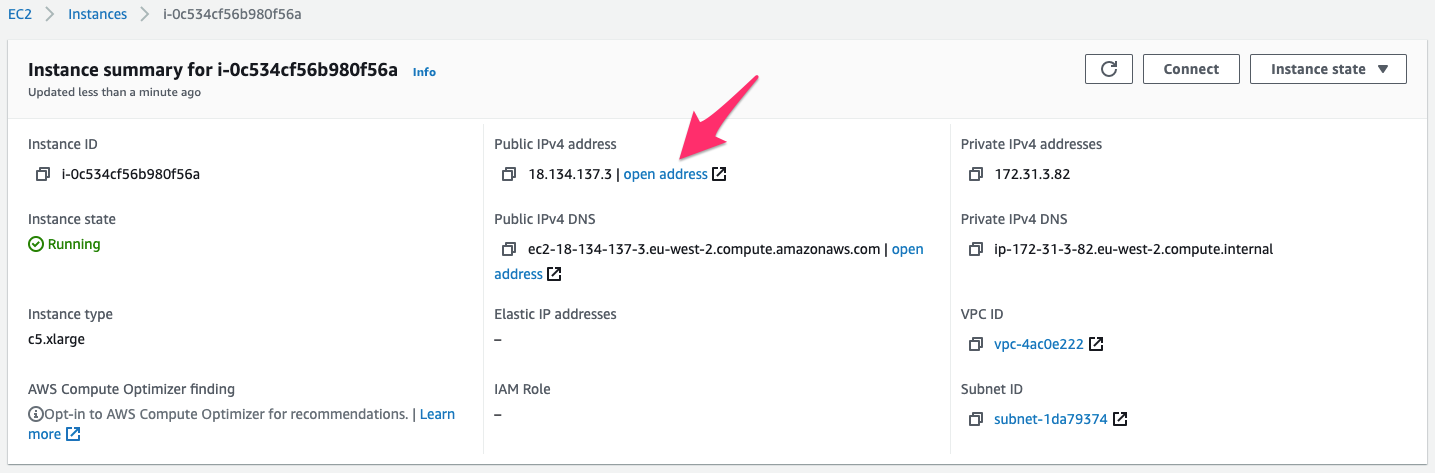
- Click on your instance ID link.

The provisioning takes a few minutes. Please wait before you start the next step.
- Click Open address in order to open GitLab UI.
- It takes a few minutes to start the server, you may see this error, this is ok, wait 1 minute and refresh the page.
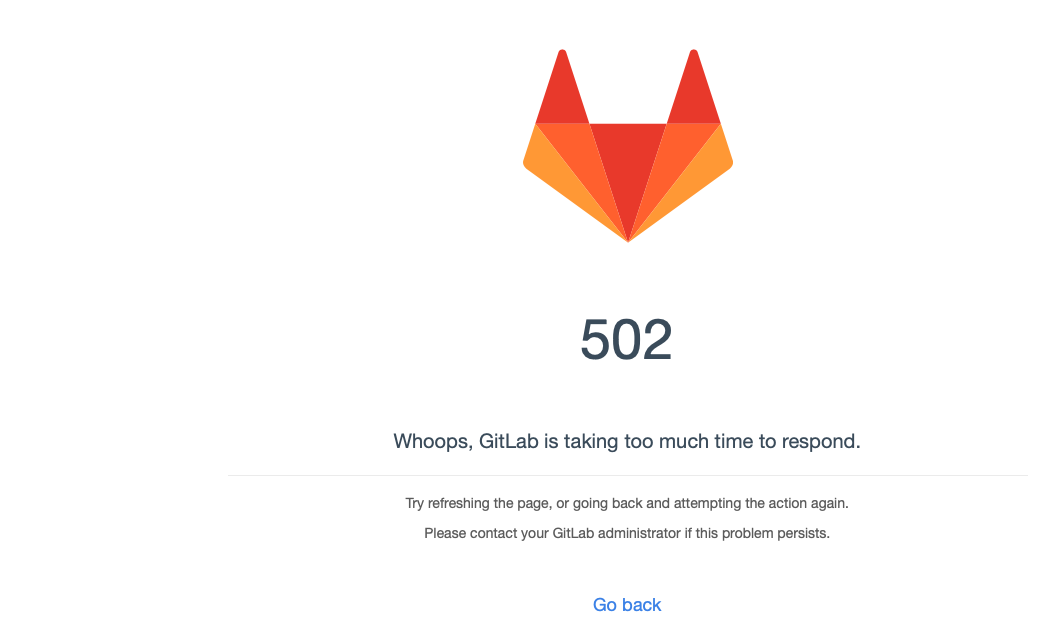
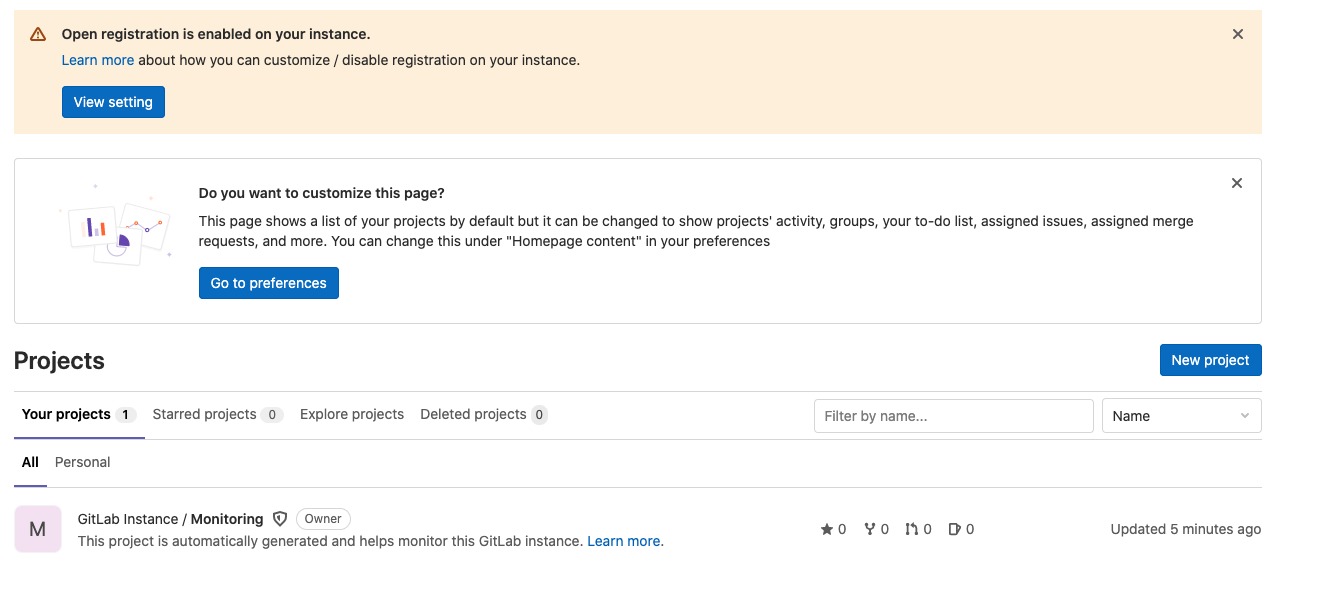
- You are now should be able to access GitLab login page. username is root, password is your instance ID, click Sign in.
 ✅ Congratulations! you managed to start GitLab instance and sign in to it.