Configure the CI/CD in the project
In the root of the project you imported in lab2 there is already .gitlab-ci.yml file that includes build and test stages, and jobs in each stage.
We will add one additional stage and jobjobs to this configuration file, deploy:
- deploy will deploy the sample website to surge.
Open the Web IDE.
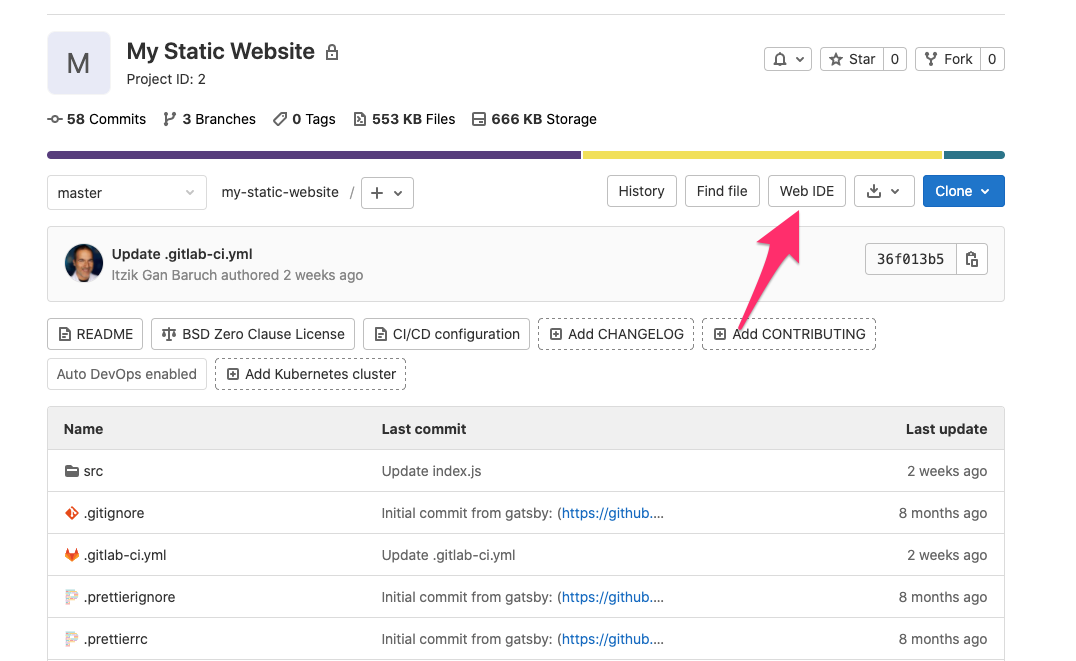 On the left, open the .gitlab-ci.yml file.
 You will notice stages keyword, with build and test stages.
Add deploy stage to it.
You will notice stages keyword, with build and test stages.
Add deploy stage to it.
Your stages now should look like this:
stages:
  - build
  - test
  - deploy
Scroll down, and create a deploy job in the deploy stage.
- Job name: deploy to s3
- stage: deploy
- add the following scripts:
curl "https://awscli.amazonaws.com/awscli-exe-linux-x86_64.zip" -o "awscliv2.zip"unzip -q awscliv2.zip./aws/installaws s3 cp ./public s3://mytestwebsite211/ --recursive
Your deploy job should look like this one:
deploy to s3:
  stage: deploy
  script:
    - curl "https://awscli.amazonaws.com/awscli-exe-linux-x86_64.zip" -o "awscliv2.zip"
    - unzip -q awscliv2.zip
    - ./aws/install
    - aws s3 cp ./public s3://mytestwebsite211/ --recursive
Commit the change, click Commit.

Add a commit message.
Change the default commit option to Commit to master.
Click Commit.

Wait a few seconds until you will see in the status bar, below the commit button, the pipeline ID, click on it in order to open the pipeline.

This will open the Pipeline graph
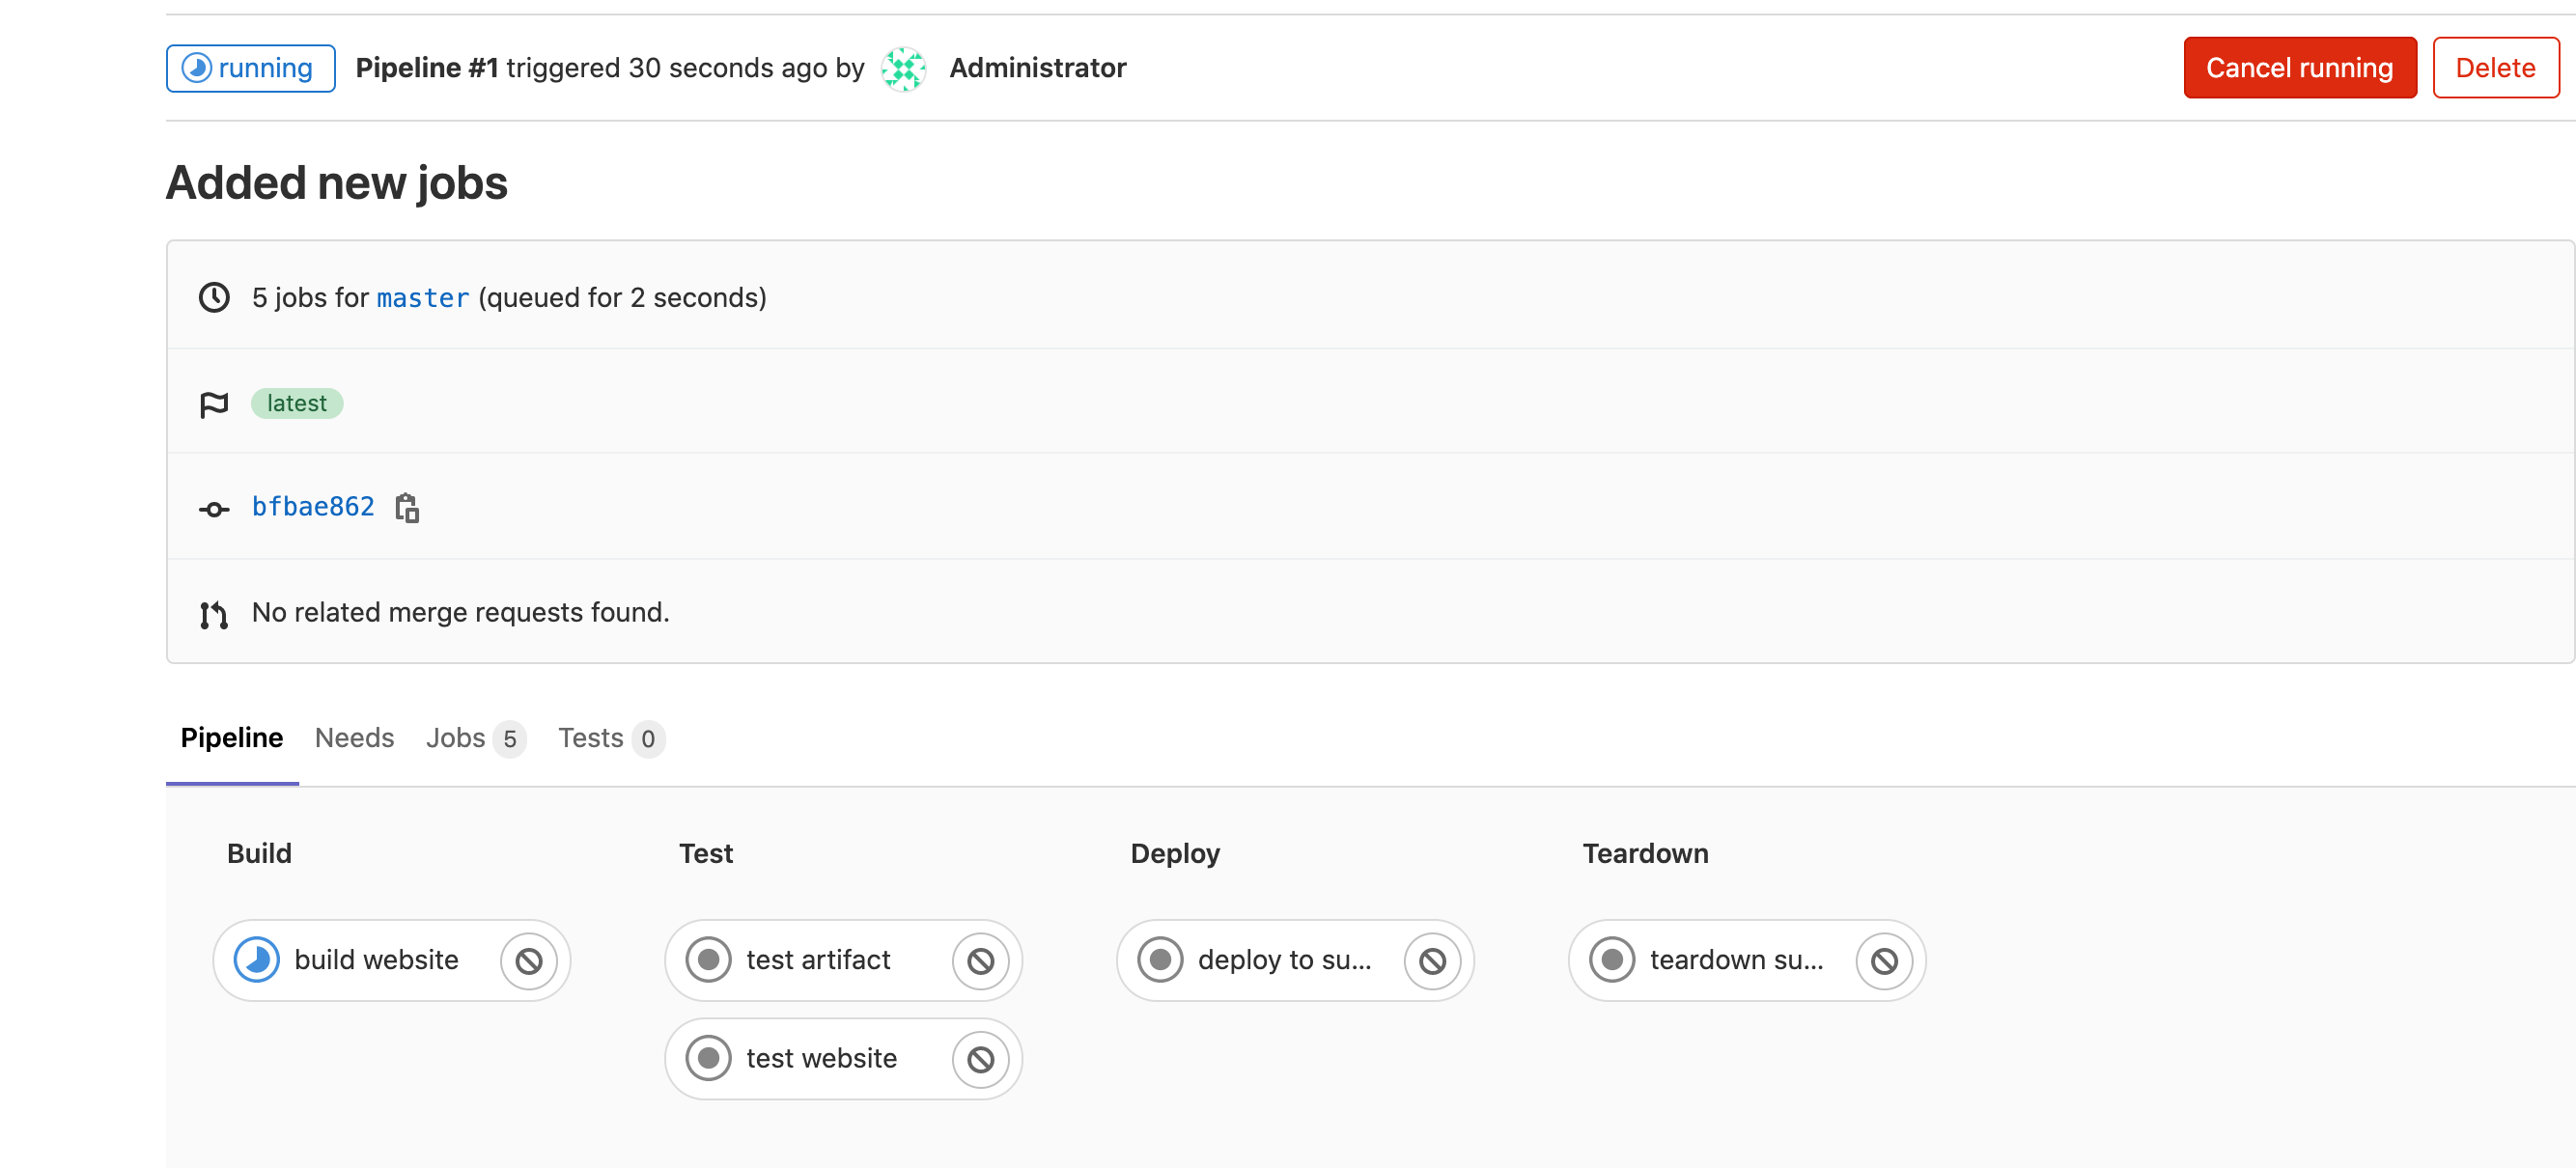 You can click on each job to check it log. wait until the deploy to s3 job completes, when it has a green V icon.
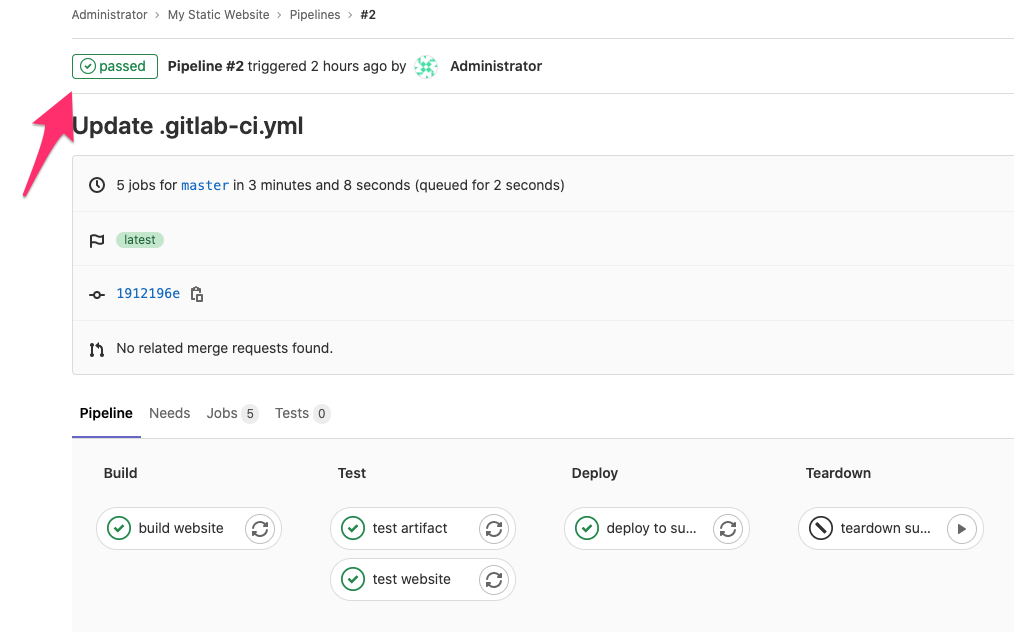
Make sure all jobs passed successfully, and that pipeline status is passed.
 Open in the browser the domain of our S3 Bucket and you will be able to see the website.