Create and S3 Bucket and Setup Static Hosting
To host our site we will leverage S3 Static Hosting capabilty. First, we need to create an S3 bucket.
In the AWS Console we select from the upper bar “Services” - > “S3”
On The S3 page, select “Buckets” then “Create Bucket”.

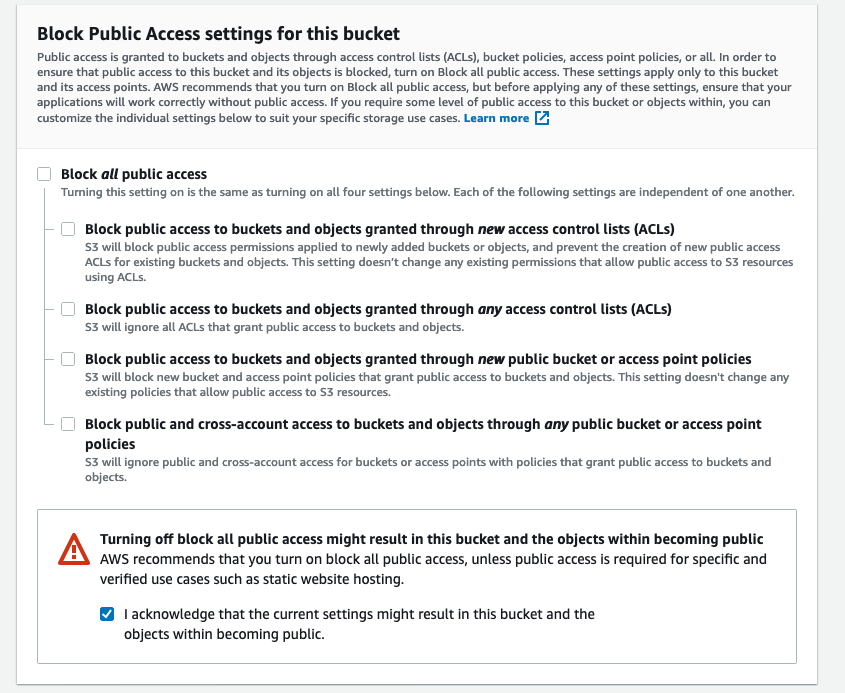
Give the bucket a unique name, then scroll down to the “Block Public Access settings” section.

In the “Block Public Access settings” section, Remove the check box next to “Block all public access”, and add a check box at bottom to acknowldege public access.
Scroll down and click “Create Bucket”.
Next, we will setup our bucket for static hosting.
From the bucket list, select our new bucket.
Then click “Properties”.

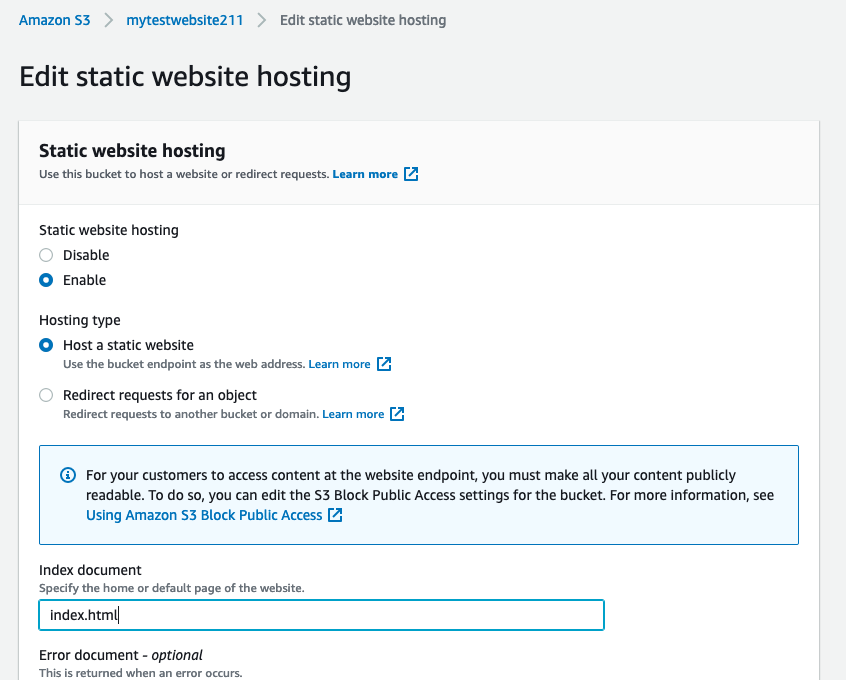
In the page that opend scroll all the way down, until you reach “Static website hosting”, and click “Edit”.

Select “Enable” int configiuration page, and write “index.html” under the index document.
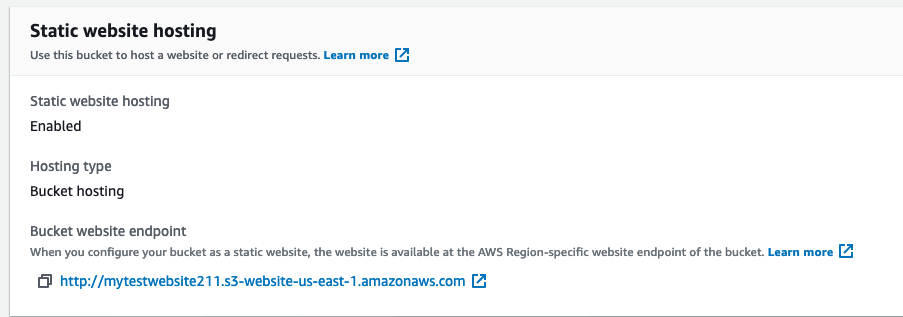
Scroll down and select “Save Changes”.
Back in the properties page, under “Static website hosting”, you will now see the link to our static website.
Finally, we will set the bucket policy to enable public access.
On our bucket page click “Permissions”.
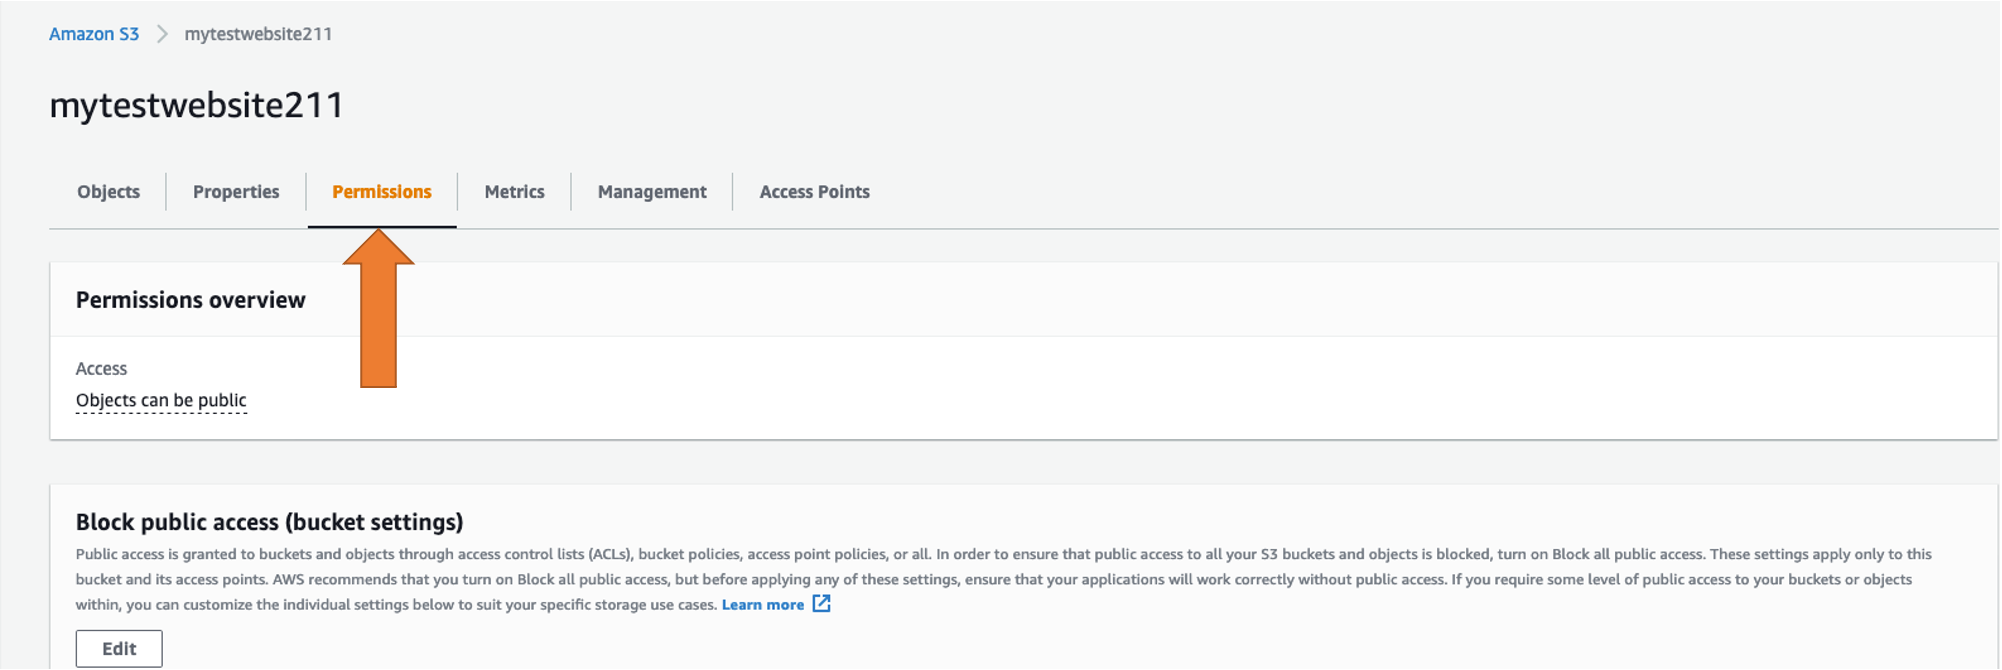
Then scroll down to “Bucket Policy” and click “Edit”.
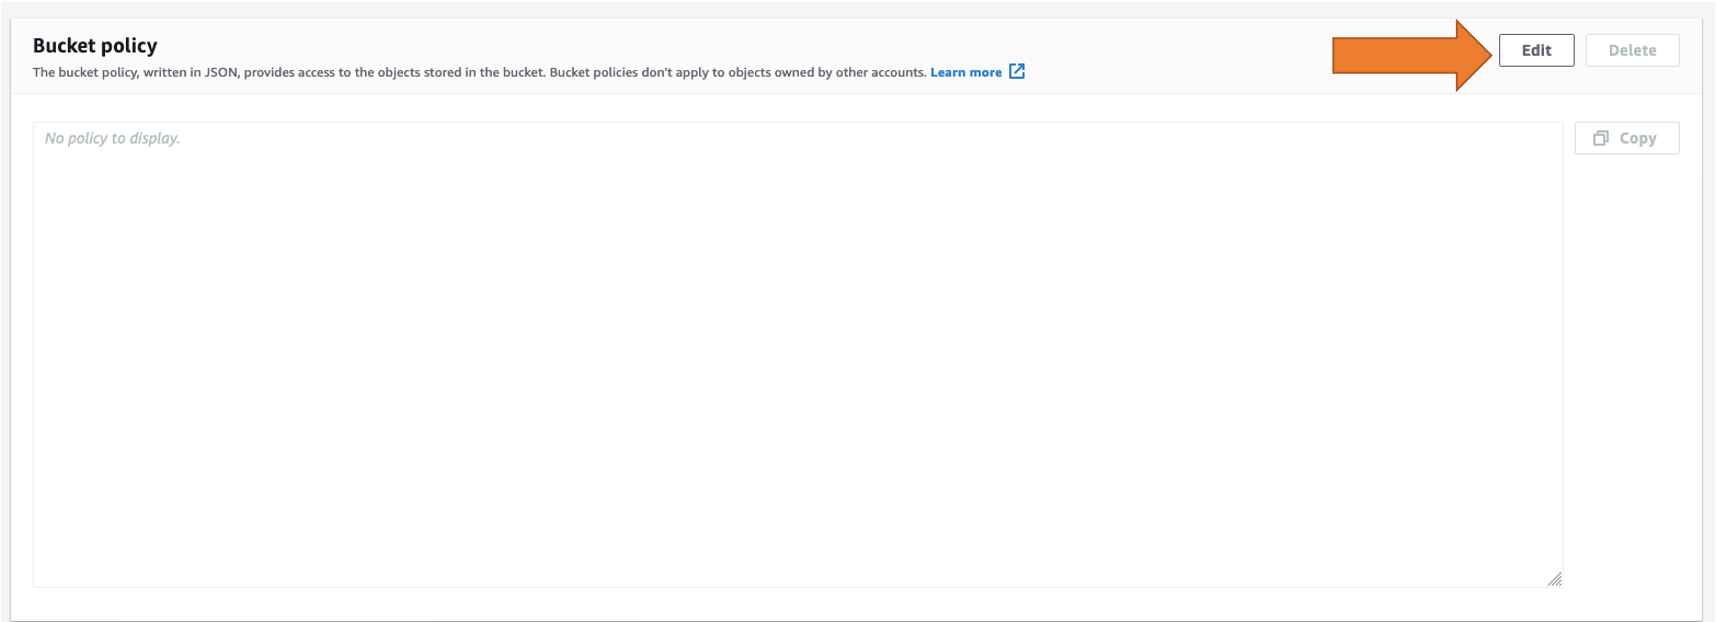
Paste the following policy and change “BUCKET_NAME” to your S3 bucket name.
{
"Version": "2012-10-17",
"Statement": [
    {
        "Sid": "PublicReadGetObject",
        "Effect": "Allow",
        "Principal": "*",
        "Action": "s3:GetObject",
        "Resource": "arn:aws:s3:::BUCKET_NAME/*"
    }
]
}
Click “Save Changes” , and this will redirect you back the bucket page. Where you should see an indicator that the bucket is now publicaly accessiable.
